Handspun Hat
Knit pattern by Nadine Borovicka
http://nadinescrafts.blogspot.com/
http://Nadinespatterns.blogspot.com/
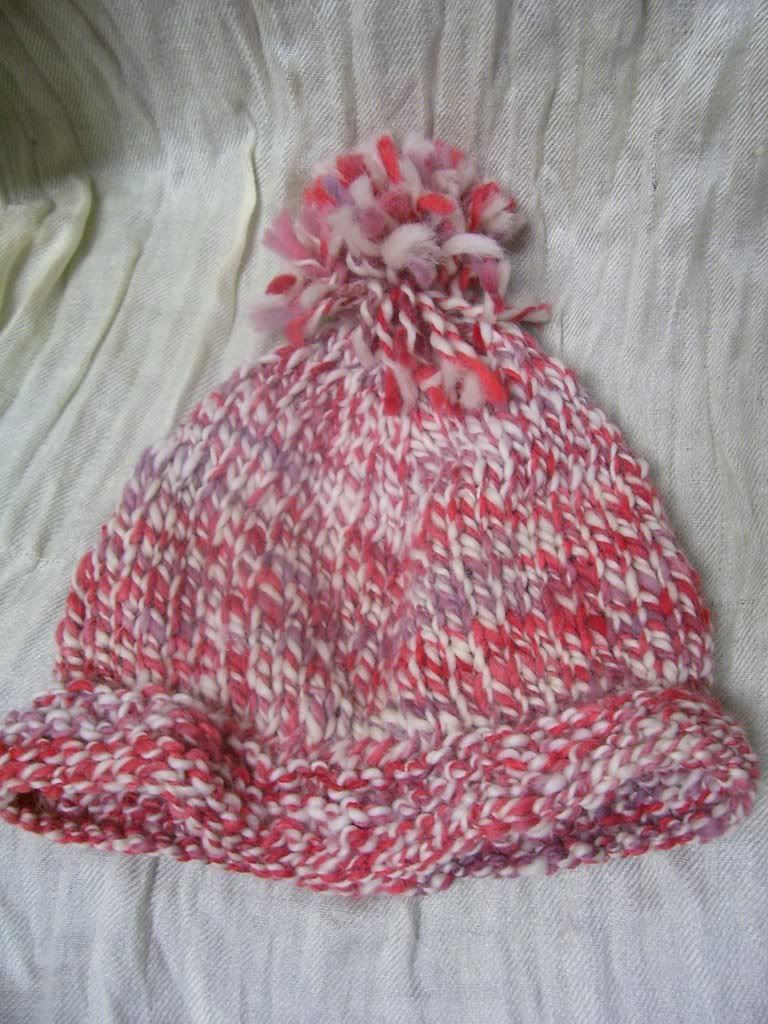
I had no idea what to make with my first handspun yarn. It was a bulky raspberry and cream 2-ply yarn. I was using Corridale, which was easy to spin but a bit too scratchy to wear next to my skin. I had just enough yardage for a hat.
As a note, after rows 1 and 2, the row number I give is no longer accurate. The cast on, decreases and increases can be your choice. They don’t add a particular design element so just use your favorite.
Knit pattern by Nadine Borovicka
http://nadinescrafts.blogspot.com/
http://Nadinespatterns.blogspot.com/
I had no idea what to make with my first handspun yarn. It was a bulky raspberry and cream 2-ply yarn. I was using Corridale, which was easy to spin but a bit too scratchy to wear next to my skin. I had just enough yardage for a hat.
As a note, after rows 1 and 2, the row number I give is no longer accurate. The cast on, decreases and increases can be your choice. They don’t add a particular design element so just use your favorite.
Download PDF Here
Materials:
Size 11 Needles
Bulky Yarn- I used handspun
Pom-pom maker-optional
Hat is knit flat them seamed up the back.
Cast on 52 stitches loosely. Method of cast on doesn’t really matter as long as it is stretchy enough to be the opening edge of the hat.
Row 1. Knit row
Row 2. Purl row
Repeat rows 1 and 2, 4 more times.
3. Knit row, decreasing 4 times evenly across the row (knit 2 together works just fine)
4. Purl row
Repeat 3 and 4 once more.
5. Knit row decreasing 4 times evenly across
6. Purl row decreasing 4 times evenly across
Repeat 5 and 6, 3 more times
Knit 3 together 4 times.
Bind off and gather top row of stitches, leaving a yarn tail long enough to sew up the seam.
On your starting edge, pick up 50 stitches.
1. Knit row
2. *Knit 2, increase *repeat across
3. *Knit 2, increase *repeat across
4. Knit row
Repeat row 4, 5 more times
Bind off very loosely. Sew up seam of hat. Add pom-pom to top of hat if you like.
Copyright © Nadine Borovicka 2008 All Rights Reserved. No part of this document may be reproduced or distributed without written consent from the author.