Wednesday, January 28, 2009

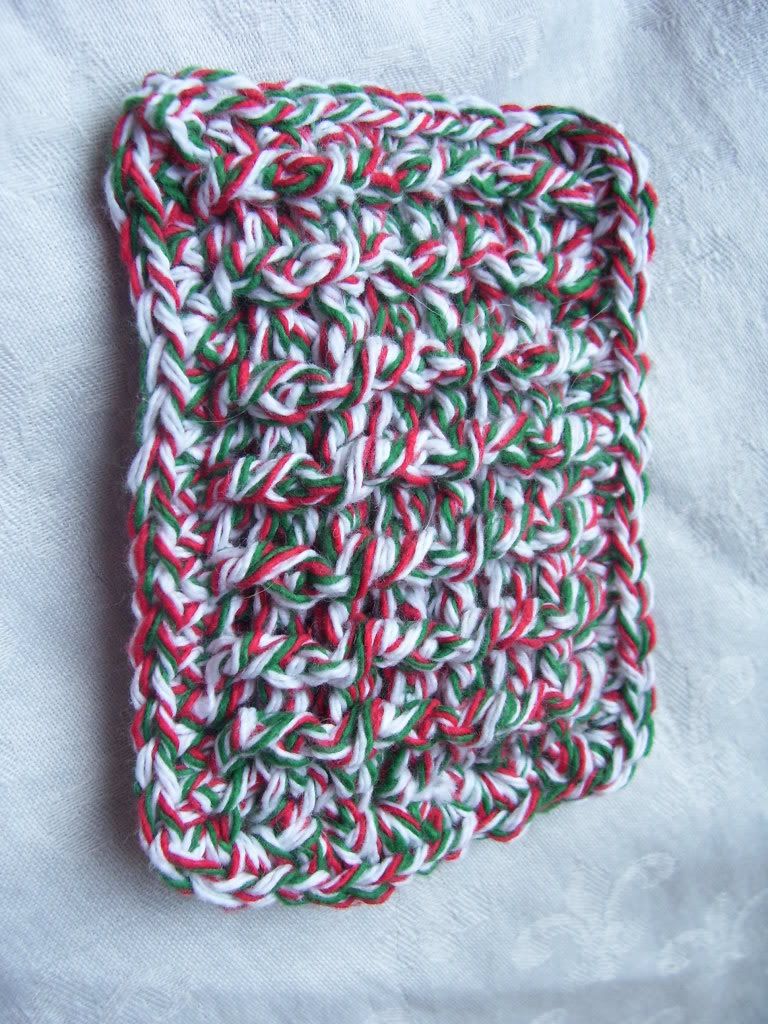
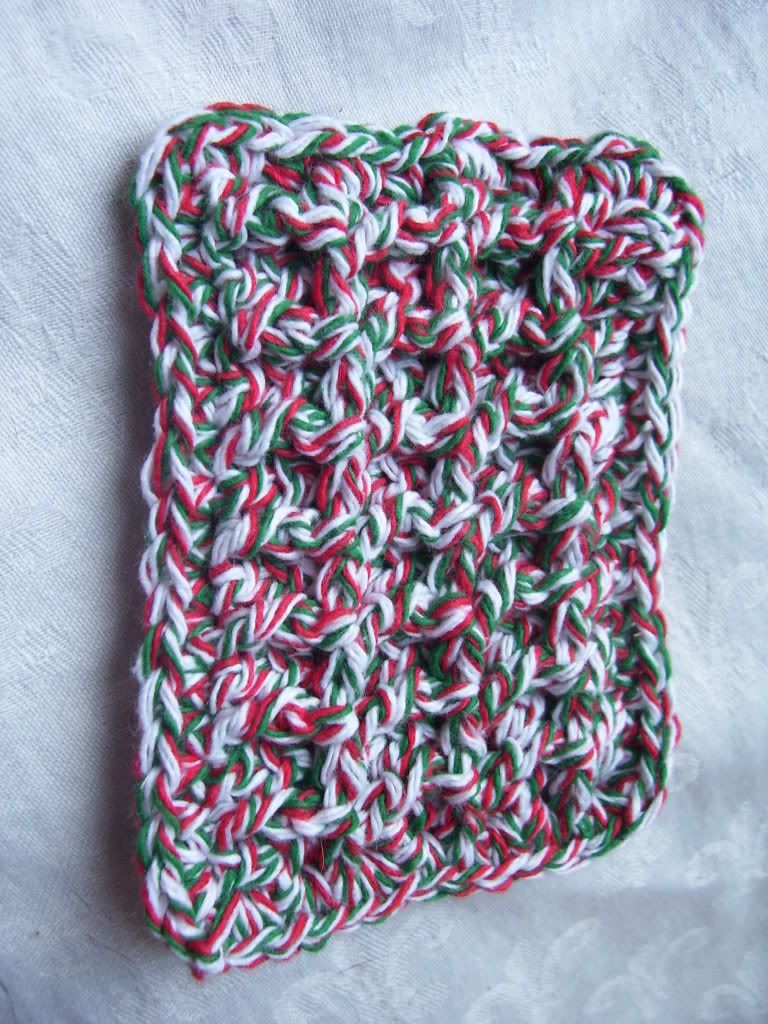
Ribbed Dish Sponge- Crochet

Ribbed Dish Sponge
Crochet pattern by Nadine Borovicka
http://nadinescrafts.blogspot.com/
http://nadinespatterns.blogspot.com/

Download PDF Here


Materials:
Worsted Weight Cotton Yarn
Size H crochet hook

Abbreviations:
Ch- Chain
Sc- Single Crochet
Dc- Double Crochet
Fpdc- Front Post Double Crochet
Bpdc- Back Post Double Crochet

Directions:
Chain 33
Turn and dc in third ch from hook (counts as first dc). Dc across (32 sts)
[Chain 2 (counts as first dc), turn, skip first dc space, Fpdc, *bpdc, fpdc repeat from * across.] 7 times
Fold cloth in half widthwise.
Ch 1, sc the two halves together evenly around all 4 sides working two or more sc in each corner to keep flat. Join to first sc with a slip stitch. Fasten off and weave in ends.


Copyright © Nadine Borovicka 2009 All Rights Reserved. No part of this document may be reproduced or distributed without written consent from the author.

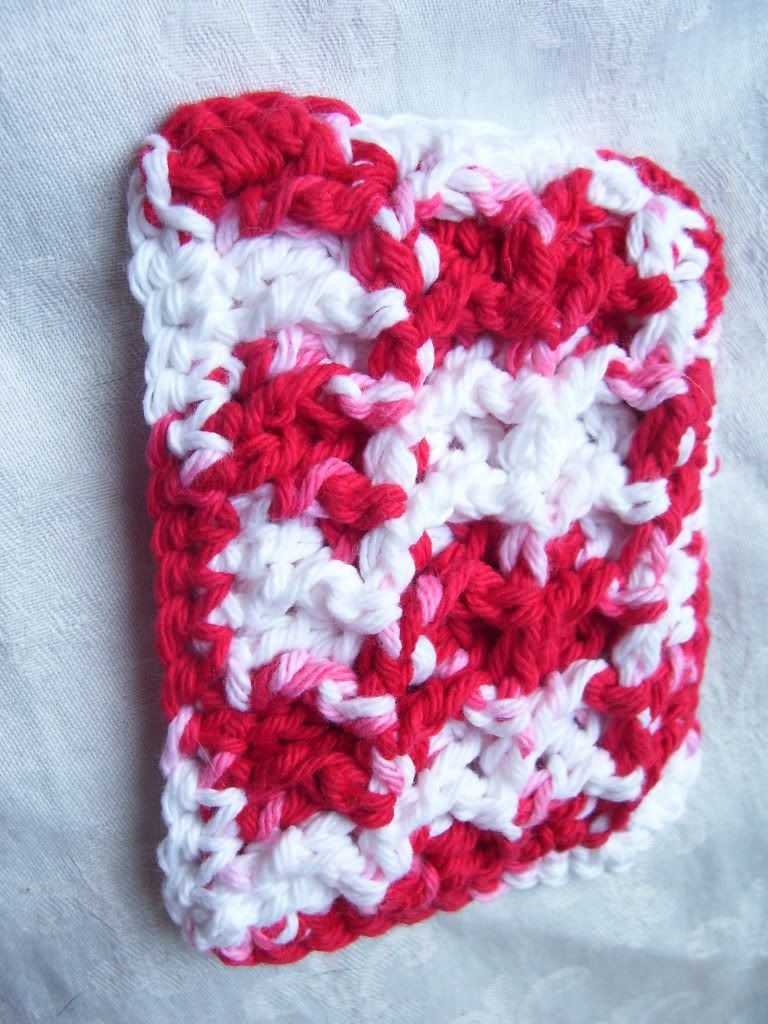
Basketweave Dish Sponge- Crochet

Basketweave Dish Sponge


Download PDF Here

Materials:
Worsted Weight Cotton Yarn
Size H crochet hook

Abbreviations:
Ch- Chain
Sc- Single Crochet
Dc- Double Crochet
Fpdc- Front Post Double Crochet
St(s)- Stitch(es)

Directions:
Chain 33
Turn and dc in third ch from hook (counts as first dc). Dc across ( 32 sts)
[Chain 2 (counts as first dc), turn, skip first dc space, Fpdc, *dc, fpdc repeat from * across.] 7 times
Fold cloth in half widthwise.
Ch 1, sc the two halves together evenly around all 4 sides working two or more sc in each corner to keep flat. Join to first sc with a slip stitch. Fasten off and weave in ends.

Copyright © Nadine Borovicka 2009 All Rights Reserved. No part of this document may be reproduced or distributed without written consent from the author.
Tuesday, January 27, 2009

Felted Flower Coasters- Crochet

Felted Flower Coasters
Crochet pattern by Nadine Borovicka
http://nadinescrafts.blogspot.com
http://nadinespatterns.blogspot.com
A great gift to make in a hurry


Materials:
Size K crochet hook
Worsted weight wool, Patons classic wool used in sample

Abbreviations:
Ch- Chain
Sc- Single crochet
Dc- Double crochet
St(s)- Stitch(es)

Pattern:
Ch 3, 11 dc in 3rd ch from hook, join. (12 sts)

Ch 3 (counts as first dc), dc in same st as joining. 2 dc in each st around. Join (24 sts)

Ch 3 (counts as first dc), dc in same st as joining. 2 dc in each st around. Join (48 sts)

Ch 3, 2 dc in same st as joining. *Skip one st, sc in next st, skip next st, 5 dc in next st. Repeat from * around. In same stitch as joining, 2 dc. Join to ch 3.

Fasten off, weave in ends and felt using your preferred method.

Copyright © Nadine Borovicka 2009 All Rights Reserved. No part of this document may be reproduced or distributed without written consent from the author.
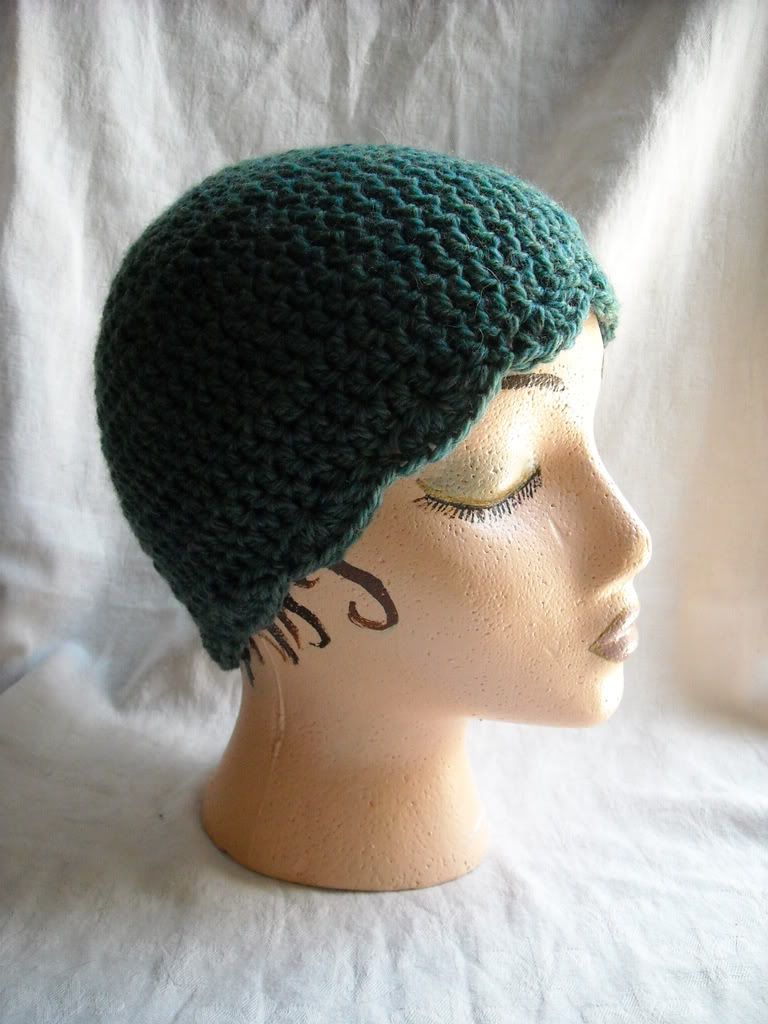
My Blueberry Hat - Crochet

My Blueberry Hat
Crochet pattern by Nadine Borovicka
http://nadinescrafts.blogspot.com
http://nadinespatterns.blogspot.com
This pattern was inspired by the hat that Norah Jones wears at the end of the movie My Blueberry Nights. Maybe if you make it, you’ll get to kiss Jude Law too. Although it hasn’t happened to me yet.


Materials:
Size H Crochet Hook
1 skein Patons Classic Merino Wool in Jade Heather- this yarn matches the movie the best that I could tell. But you could substitute any worsted weight yarn you like.

Abbreviations:
Ch- Chain
Sc- Single Crochet
Dc- Double Crochet
Trc- Treble/Triple Crochet
St(s)- Stitch(es)

Directions:
I like to start with a magic adjustable ring to prevent a hole from forming. Make a Magic Ring, ch 3, 11 dc in ring, join and tighten (12 sts).
Ch 3, dc in joining, 2 dc in each st around, join (24 sts)
Ch 3, dc in joining, dc, * 2 dc in next st, dc in next st. Repeat from * around. Join (36 sts)
Ch 3, dc in joining, dc in next 2 sts. * 2 dc in next st, dc in next 2 sts. Repeat from * around, join (48 sts)
Ch 3, Skip joining st, dc in each st around, join (48 sts)
Ch 3, dc in joining, dc in next 3 sts. *2 dc in next st, dc in next 3 sts. Repeat from * around, join (60 sts)
Ch 3, skip joining st, dc in each st around (60 sts)
Ch 3, dc in joining, dc in next 4 sts. *2 dc in next st, dc in next 4 sts. Repeat from * around, join (72 sts)
[Ch 3, skip joining st, dc in each st around (72 sts)] 6 times. You can do more or less of these rows to lengthen or shorten the hat.
C 1, sc in same st as joining. * skip next 2 sts, (trc, 3 dc, trc) in next st, skip next 2 sts#, sc in next st. Repeat from * around ending at #. Join to first sc with a slip stitch.
Fasten off and weave in ends
Go find Jude Law’s diner and have some blueberry pie

Copyright © Nadine Borovicka 2009 All Rights Reserved. No part of this document may be reproduced or distributed without written consent from the author.
Wednesday, June 25, 2008

DPN or Crochet Hook Needle Case - Needle Felted

DPN or Crochet Hook Case
Needle Felting pattern by Nadine Borovicka
http://nadinescrafts.blogspot.com/
http://Nadinespatterns.blogspot.com/
An easy project using the sheets of felt you can purchase from just about any craft store and even Wal-mart. I get to cheat now using my needle felting machine, but the first few I did were done by hand.

Materials:
At least 2 sheets of 8 ½ X 11 inch felt – you can use more sheets or some roving to add decoration to the front
Felting needles – either singles, puncher or machine
Scissors
A base to needle felt on if doing it by hand – foam or one of the brush bases you can buy

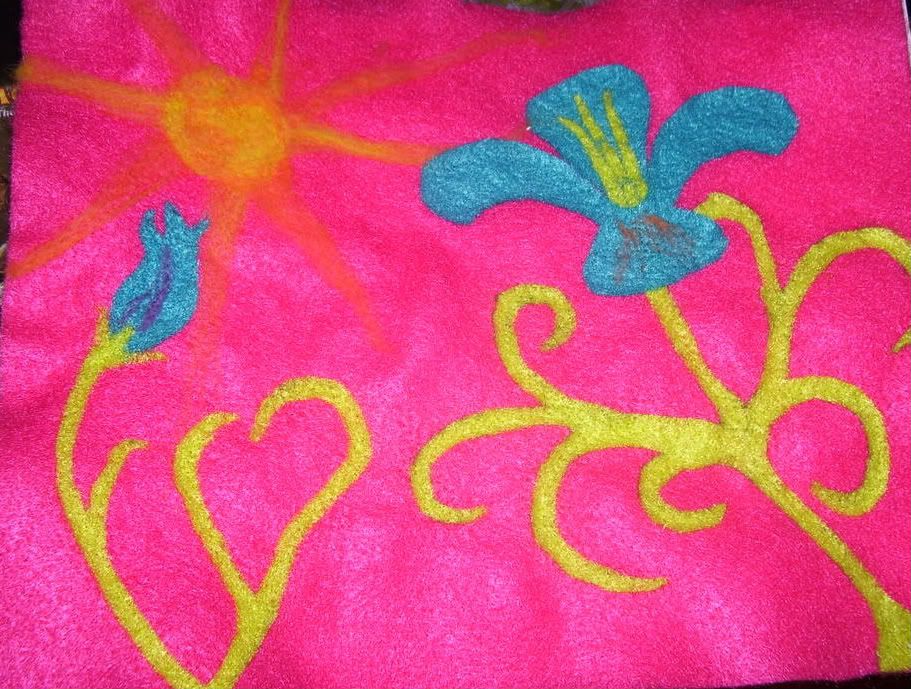
This step is optional. Take the sheet that will essentially be the cover. You can leave it plain or do as I have and add fun designs to it. Make cases that match your knitting or crocheting bags or get creative.


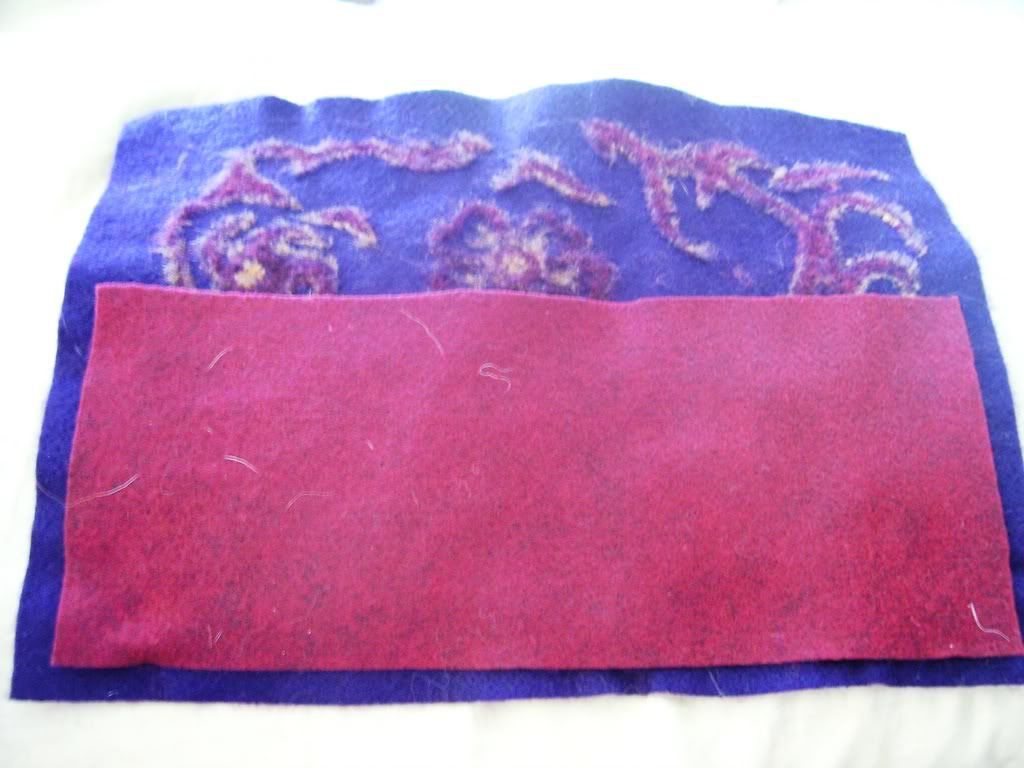
Take the second sheet of felt and cut it in half long ways. Then trim the side edges so that you have about ¼ of an inch of the cover sheet overhanging the pocket to make the seam. Place the pocket so that there is also a ¼ of an inch overhang at the bottom.


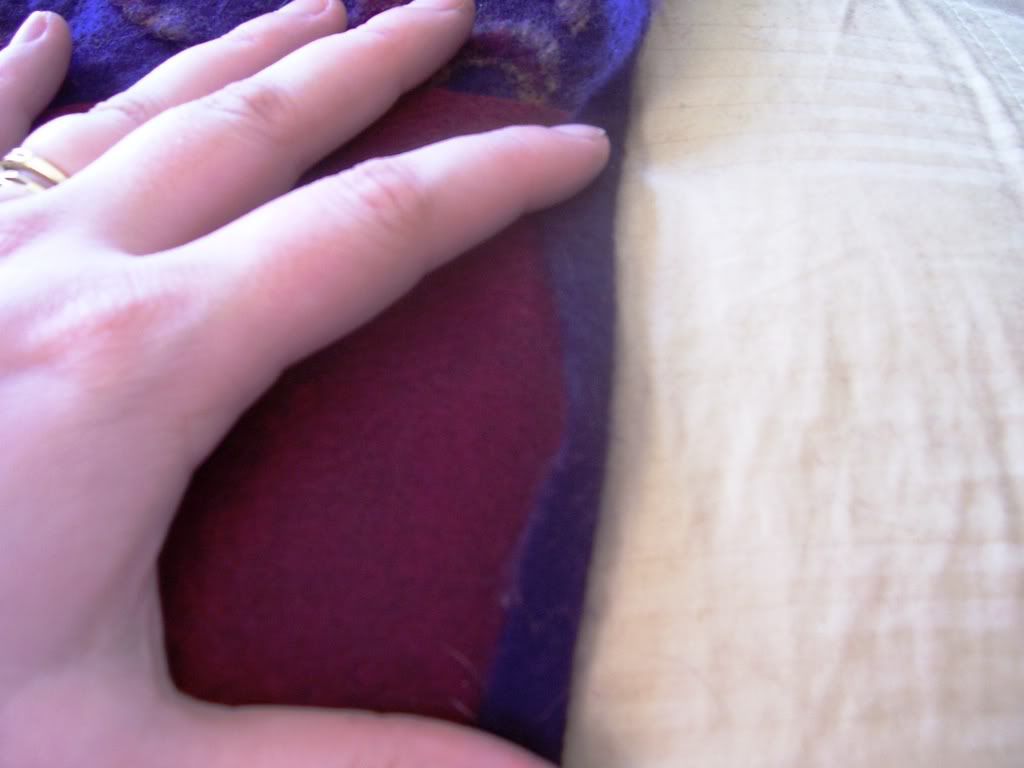
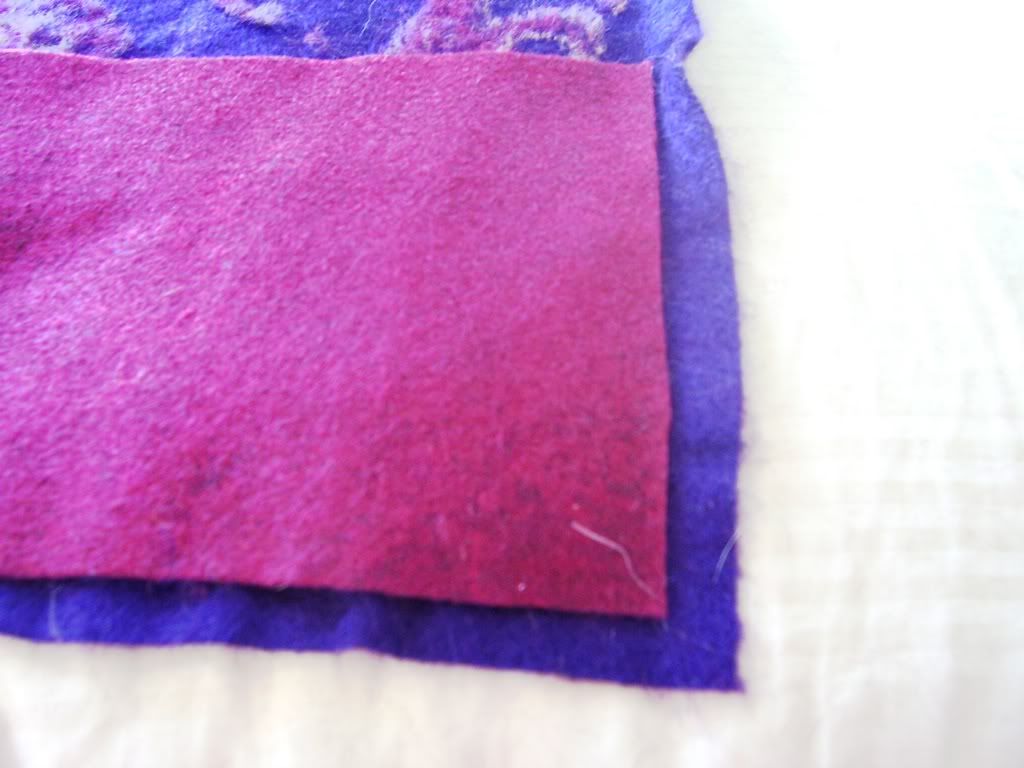
Fold over this edge. This is the tricky part. In order not to mess up the design on the cover, you will actually need to turn this over and work from the other side. So you will turn it with the decorated side up and the pocket underneath (the opposite of what I am doing in the picture). Fold over the seam and use your needle to felt the edges to create a strong seam. If you don’t feel comfortable with this, you can sew the edge. You will have a ¼ inch seam on the entirety of both side edges and the bottom. On the top, you can fold over ½ to 1 inch of the top and lightly felt to create a flap to keep the needles from escaping out the top. Just make sure you don’t fold down too much so that your needles don’t fit.

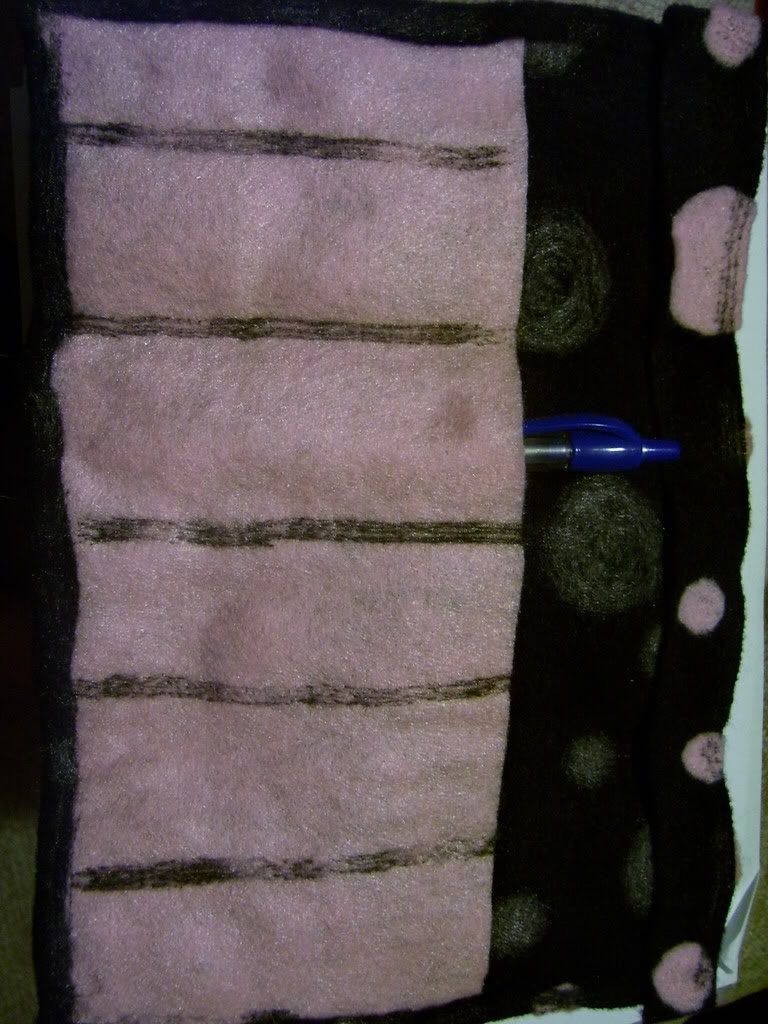
Again working with the cover side up you will make the pockets for the needles. Felt lines running up the pocket as in the picture above. If you work from the pocket side, you will push through fibers that will ruin the design on the front so you have to be sure that you are working so the fibers only show on the pocket side.

You can sew or felt on buttons or ties to close. I just roll mine up and tie it with a piece of yarn or ribbon.

Copyright © Nadine Borovicka 2008 All Rights Reserved. No part of this document may be reproduced or distributed without written consent from the author.
Checkerboard - Crochet

Checkerboard Set
Crochet pattern by Nadine Borovicka
http://nadinescrafts.blogspot.com/
http://Nadinespatterns.blogspot.com/
Perfect to rollup and stuff into a little crocheted bag for checkers on the go.

Download PDF Here

Materials:
Worsted Weight yarn (I used Red Heart in 3 colors I had laying around)
Size G Hook
Yarn Needle

Abbreviations:
Color A – player one color
Color B – player two color
Color C – the border color ( I used a variegated that combined colors A and B)
Ch – Chain
Sc – Single chain

Board (just using colors A and B):
With color A, chain 9, SC in 2nd chain from hook and across (8 stitches). (Ch 1, turn, sc across) 6 times.
*Change color. (ch 1, turn, sc across) 8 times. Repeat from * 6 times. End with 8 blocks of alternating colors. Four blocks of color A and four of color B, starting with A and ending with B. You can either carry the strands of color up along the side of the strip or you can cut and rejoin. Either way, seaming and adding the border should cover up the extra strands.

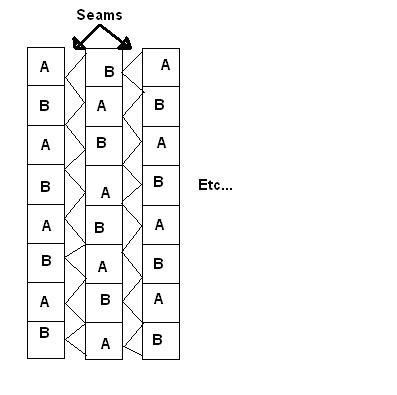
Make eight of these strips. Seam them together, laying them beside each other and alternating their directions.


Diagram on how to line up and seam together board strips.

After board is sewn together, attach border color to the beginning of an edge.
* Sc 64 stitches evenly across edge. Sc, Ch 2, Sc in corner. Repeat from * 3 more times. Join to 1st Sc with a slip stitch.
(Ch 1, *SC to corner space. Sc, ch 2, sc in corner ch 2 space. Repeat from * to complete round. Join to first Sc with a slip stitch) Repeat 2 more times to complete border. Fasten off.

Game Pieces:
With color A or B, magic ring cast on, 6 sc in circle. Working in the round, 2 sc in each sc around (12 stitches). Change to color C, 2 sc in each sc around (24 stitches). Slip stitch in next sc to join the round. Fasten off.
Make 16 pieces with color A and 16 with color B.

Play checkers

Copyright © Nadine Borovicka 2008 All Rights Reserved. No part of this document may be reproduced or distributed without written consent from the author.
Handspun Hat - Knit


Handspun Hat
Knit pattern by Nadine Borovicka
http://nadinescrafts.blogspot.com/
http://Nadinespatterns.blogspot.com/
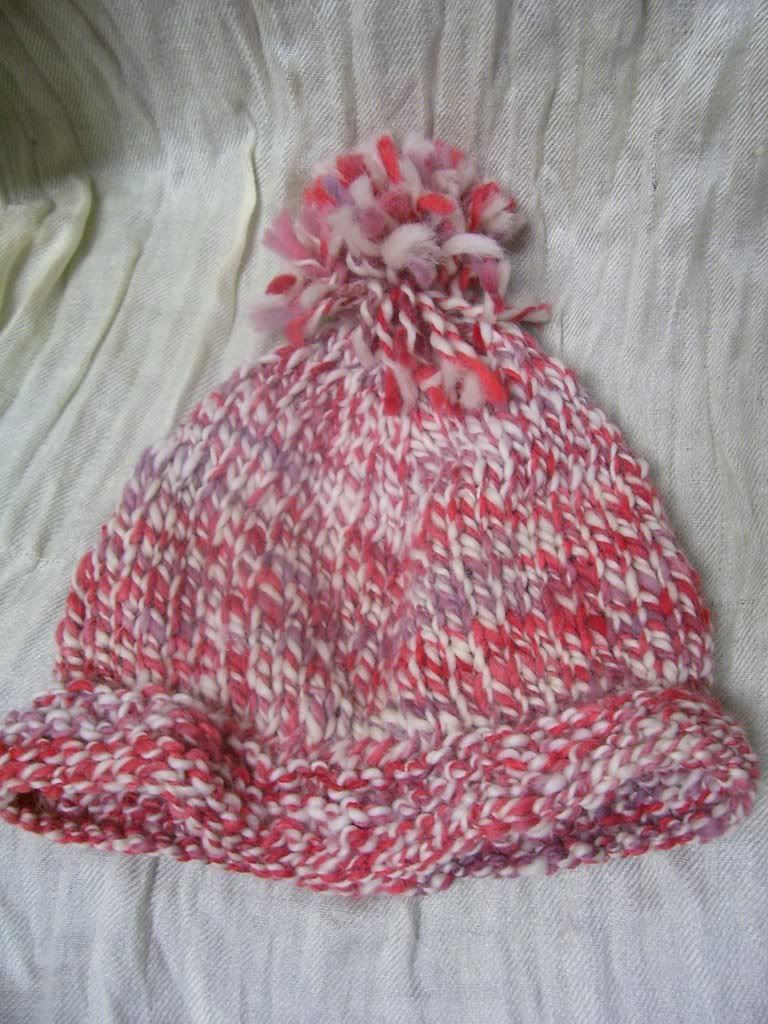
I had no idea what to make with my first handspun yarn. It was a bulky raspberry and cream 2-ply yarn. I was using Corridale, which was easy to spin but a bit too scratchy to wear next to my skin. I had just enough yardage for a hat.
As a note, after rows 1 and 2, the row number I give is no longer accurate. The cast on, decreases and increases can be your choice. They don’t add a particular design element so just use your favorite.
Download PDF Here

Materials:
Size 11 Needles
Bulky Yarn- I used handspun
Pom-pom maker-optional

Hat is knit flat them seamed up the back.

Cast on 52 stitches loosely. Method of cast on doesn’t really matter as long as it is stretchy enough to be the opening edge of the hat.

Row 1. Knit row
Row 2. Purl row
Repeat rows 1 and 2, 4 more times.

3. Knit row, decreasing 4 times evenly across the row (knit 2 together works just fine)
4. Purl row
Repeat 3 and 4 once more.

5. Knit row decreasing 4 times evenly across
6. Purl row decreasing 4 times evenly across
Repeat 5 and 6, 3 more times

Knit 3 together 4 times.
Bind off and gather top row of stitches, leaving a yarn tail long enough to sew up the seam.

On your starting edge, pick up 50 stitches.
1. Knit row
2. *Knit 2, increase *repeat across
3. *Knit 2, increase *repeat across
4. Knit row
Repeat row 4, 5 more times
Bind off very loosely. Sew up seam of hat. Add pom-pom to top of hat if you like.


Copyright © Nadine Borovicka 2008 All Rights Reserved. No part of this document may be reproduced or distributed without written consent from the author.